Selecting the best graphics card is crucial, impacting everything from gaming to content creation to machine learning applications. Your GPU, or Graphics Processing Unit, is the heart of visual performance in a computer, handling rendering tasks and freeing up your main processor for other work. It’s a complex balancing act of power, capacity, and budget to get the right card for your needs.
The graphics card (GPU) is a piece of hardware that creates the image you see on a monitor. It works with your computer’s software to render images, videos, and animation. These cards come in various types: integrated graphics, which share memory with the main processor (CPU); dedicated graphics, which have their memory (VRAM); and workstation graphics, designed for professional applications, such as 3D rendering and image processing.
The wider world of graphics cards encompasses everything from the physical form factor, which dictates whether a card will fit in your computer, to details like clock speed, power, and cooling. However, gaming remains a most common and demanding graphics card use. For gamers, compatibility with a range of gaming titles, the capacity to handle high frame rates and resolutions, and support for services like G-SYNC or FreeSync are all vital considerations.
Graphics card selection also plays a role in what’s often called the PC master race. This term refers to gamers who prefer to play on personal computers instead of gaming consoles, thanks to the wider array of hardware options and greater potential for customization. It’s safe to say the temperature of the debate looks set to match the thermal output of an overclocked GPU coolly.
To summarize, our goal in this guide is to navigate you through the process of choosing a graphics card that will satisfy your specific needs, whether they revolve around hardcore gaming, intensive video editing, professional 3D rendering, or powerful applications like virtual reality (VR), augmented reality (AR), and deep learning methodologies. Keep reading to dive into the details and grasp the myriad aspects of this essential hardware.
What is a Graphics Card?

A graphics card, or a video card or a display card, is a vital piece of computer hardware that produces the image data displayed on your monitor. It is essential in creating smooth visuals for everything from your operating system’s user interface to web browsing to advanced 3D rendering for games and professional applications.
The primary component of a graphics card is the Graphics Processing Unit (GPU). This processor offloads and proceeds with the heavy lifting of computing and rendering the graphics. As a result, your computer’s Central Processing Unit (CPU) can function more efficiently because it doesn’t have to divide its resources between running application software and rendering graphics.
There are three main types of graphics cards: integrated graphics, dedicated graphics, and workstation graphics.
Integrated graphics are built into the computer’s motherboard or CPU and are ideal for basic tasks such as web browsing and office applications.
Dedicated graphics cards have their memory, called Video RAM or VRAM, and are meant for more intensive graphical tasks like gaming, video editing, and 3D modeling.
Lastly, workstation graphics cards are designed for professional applications. These specialized cards are engineered to be highly accurate and reliable, offering superior performance for tasks such as scientific research and high-end video editing.
Generally, the type of graphics card required vastly depends on the user’s needs. High-end gaming, professional graphics tasks like 3D rendering, or specialized computing tasks like deep learning may require more advanced, dedicated, or workstation graphics cards. For light users, integrated graphics might be sufficient.
Why is a Graphics Card Important?

A graphics card is vitally important to a computing system for several reasons:
Graphics-Intensive Tasks: Graphics cards are designed to handle image rendering, including 2D images for regular computer tasks and complex 3D images for gaming and 3D modeling tasks.
Ensures Smooth Operation of Applications and Games: With a good graphics card, you can run graphically intense applications like games or video editing software smoothly. A strong graphics card is necessary for gaming communities, in particular, enabling them to play AAA game titles on high settings without compromising the frame rate.
Relieves CPU stress: Since the graphics card has its processor (the GPU) and its dedicated memory (VRAM), it can process graphics independently of the CPU. This offloading of tasks allows the CPU to perform other tasks more efficiently.
Professional Usage: For professionals who rely heavily on graphics-intensive work such as video editing, 3D rendering, animation, and design, having a high-performance graphics card can enable faster and more efficient work processes.
Virtual and Augmented Reality: Advanced computing fields like Virtual Reality (VR) and Augmented Reality (AR) require powerful, high-quality graphics cards to create immersive and realistic experiences.
Artificial Intelligence and Machine Learning: Modern graphics cards, particularly those designed for workstations, are increasingly used in artificial intelligence (AI) and machine learning. These applications can leverage the parallel processing abilities of GPUs for tasks like deep learning and complex data analysis.
To summarize, a graphics card’s importance lies in its ability to enhance overall system performance, deliver superior visual experiences, and handle advanced computing tasks. Therefore, a well-chosen graphics card is more than just a component; it’s an investment in your computer’s potential.
Who Should Read This Guide?
This guide is intended for a diverse set of readers who have an interest or need to understand the ins and outs of graphics cards:
Beginners: If you’re new to the world of computing hardware, this guide will offer you a comprehensive understanding of different aspects of graphics cards and their performance metrics. Steering clear of jargon, it provides information that lays the groundwork for future learning.
Gamers: Gaming enthusiasts will benefit significantly from this guide. It can help gamers understand the specific requirements of applications or games and choose a card that optimizes performance, supports advanced game features, and enhances their gaming experience.
Professional Content Creators: Anyone involved in professional content creation, like 3D modelers, animators, video editors, and graphic designers, would find this guide invaluable. These professionals need high-performing graphics cards for optimum software performance and efficiency in their work.
AR/VR Enthusiasts: Users involved in developing or using Augmented Reality (AR) or Virtual Reality (VR) applications will find this guide beneficial. It will help them select a card that supports the high-performance requirements of AR and VR.
Machine Learning and AI Researchers: For people engaged in Machine Learning, Deep Learning, and other artificial intelligence research arenas, this guide will enhance their understanding of how certain GPUs are better designed to handle the computational load of these operations.
PC Builders and Upgraders: This guide is equally essential for those looking to build a PC from scratch or wanting to upgrade their existing graphics card. It can help them make informed decisions regarding their hardware selection, considering all relevant aspects such as power requirements, compatibility, cooling, and budget.
Essentially, this guide is for anyone who wants to decide which graphics card is best suited to their specific needs. Whether you’re a novice or a seasoned professional, this guide is set to shed light on the vital considerations when choosing a graphics card.
What to Look for in a Graphics Card:

Brand:
Graphics cards are primarily produced by NVIDIA and AMD, each having their unique strengths in GPU architecture. Always consider the latest releases, the quality of driver updates, and user reviews and experiences.
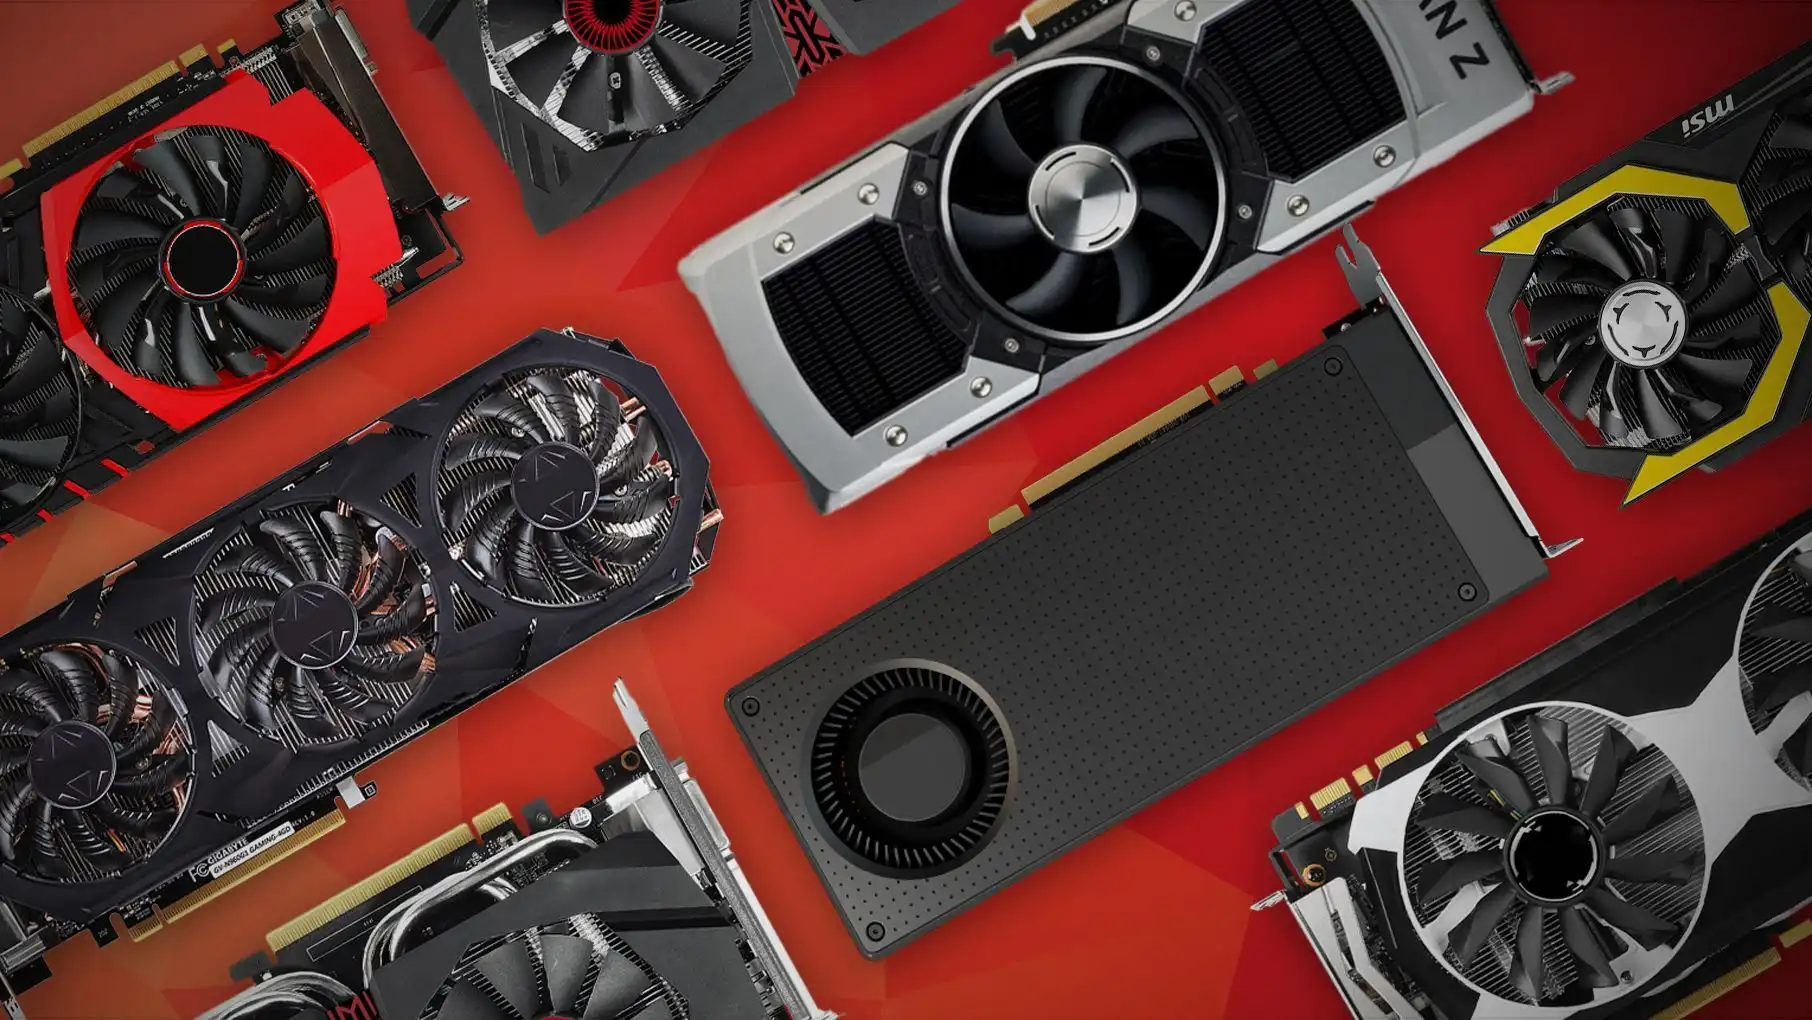
Model:
Graphics card models offer a variety of GPU performance and come at different GPU price points. Make sure to scrutinize GPU benchmarks, which provide performance benchmarks that help understand the model’s performance in real-world scenarios.
GPU:
The GPU’s main components include shader processors, texture units, and ROP units, which handle various aspects of rendering graphics. Look for the GPU clock speed for an understanding of the GPU’s speed and efficiency.
Memory:
The VRAM capacity is crucial for storing rendered images and textures before output to your screen. Consider memory type as different types can impact the speed and efficiency of data transfer within the GPU. Elements like the memory bus width also influence the performance.
Form Factor:
Ensure your chosen graphics card fits your computer case and is compatible with your motherboard. The physical size (clearance) and power requirements must be matched with your existing hardware, including power supplies and cooling systems.
How to Choose the Best Graphics Card for Your Needs:

Consider Your Budget:
Graphics cards can range dramatically in price. Determine your budget first, then find the best performance within that range.
Consider Your Resolution and Refresh Rate:
High-resolution displays or high refresh rate monitors need a GPU to keep up. Consider cards with high-performance benchmarks matching your desired display output.
Consider the Games You Play:
If you’re a gamer, specific requirements of applications or games will dictate which graphics card is best for you. Games with demanding 3D rendering or augmented reality features need a high-performance card.
Consider Your Other Hardware:
Your graphics card must be compatible with your system’s processors, memory, storage, operating system, and software drivers. It’s crucial to ensure your other hardware can keep up with a new high-performance graphics card, or you’ll face bottlenecks.
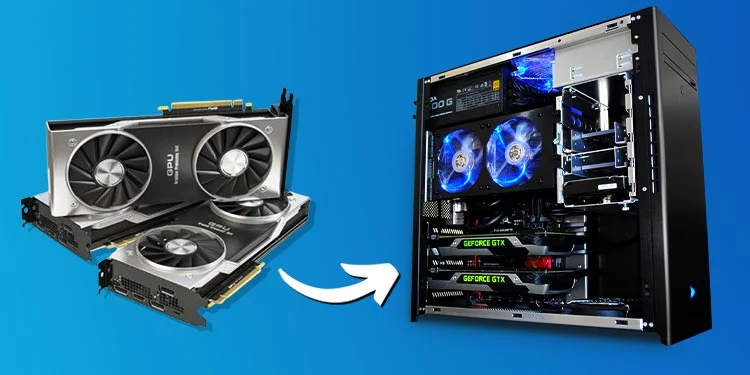
How to Install a Graphics Card:

Remove the Old Graphics Card:
Before installing the new card, disconnect your PC from the power source and remove the existing graphics card from the motherboard’s slot.
Install the New Graphics Card:
Insert the new card firmly into the respective slot on the motherboard. Make sure it aligns correctly with case’s graphics card slot at the back.
Connect the Power Supply:
Newer graphics cards require more power. Connect them to the power supply using the necessary cables.
Install the Drivers:
Once everything is set, start your PC and install the drivers. Regular updates are necessary for the best possible performance and compatibility with applications and games.
Conclusion
When choosing a graphics card, consider the card’s power, GPU benchmarks, memory type, form factor, and bandwidth. Compatibility with your system, machine learning capabilities, DirectX support, OpenGL support, Vulcan support, ray tracing support, artificial intelligence support, HDMI, DisplayPort, and USB-C connectivity are other factors to remember.
This detailed guide is designed to assist you through the process of choosing the best graphics card for your needs. However, the complex nature of graphics cards may sometimes lead to issues. If you face any problems, lean on intelligent troubleshooting strategies, such as reinstalling software drivers and ensuring regular updates.
And remember, the best graphics card for you depends largely on the specific requirements of your applications or games, the extent of your budget, and the existing components of your system.
A vast ocean of resources is available online to continue your journey of understanding and choosing graphics cards. Read user reviews, experiences, and high-quality articles on trusted tech sites for continued education.
In the dynamic world of PC hardware, the perfect graphics card today may not hold the crown tomorrow. So, keep your knowledge up-to-date, listen to the experiences of other users, and consider the evolving needs of your applications and workflow.
Frequently Asked Questions:
1. What Does “Gpu” Stand for?
GPU stands for Graphics Processing Unit. It’s a specialized processor designed to handle tasks related to displaying images and graphics on your computer screen.
2. What is the Difference Between Integrated and Dedicated Graphics?
Integrated graphics are built into your CPU and share resources (like memory). On the other hand, dedicated graphics cards have their resources, like VRAM, which often makes them more powerful and better suited for gaming and content creation tasks.
3. How Much Vram Capacity Do I Need?
The required VRAM capacity depends on your specific needs. For high-end gaming, 3D modeling, or professional applications, you might need a GPU with 8GB or more of VRAM. 2-4GB of VRAM is generally sufficient for more casual uses.
4. Can a Better Graphics Card Speed Up My Computer?
A better graphics card can improve the speed of graphics-related tasks such as gaming, video editing, 3D rendering, and the like. However, it won’t necessarily speed up general computing tasks that depend more on the CPU and RAM.
5. What is Gpu Overclocking?
Overclocking involves increasing the clock rate of your GPU beyond the factory-set level to achieve higher performance. However, this can increase power consumption and heat, so effective cooling systems are crucial when overclocking.
6. What is Freesync and G-sync?
FreeSync and G-SYNC are technologies from AMD and NVIDIA, respectively. They ensure a smooth gaming experience by matching the refresh rate of your monitor with the output of your graphics card, reducing issues like screen tearing and stuttering.
7. How Often Should I Update My Gpu Driver?
Ensuring your GPU driver is up-to-date helps to optimize performance and fix any bugs or issues. Consider updating it whenever a new update is released, but especially if you’re encountering issues or have installed new software or games that recommend a driver update.
8. Why is Gpu Compatibility Important?
GPU compatibility with your system’s hardware and software ensures it can function properly and efficiently. Incompatible components can lead to issues ranging from poor performance to the GPU not working.
9. What Gpu Features Are Essential for Ar and Vr Applications?
AR and VR applications typically require GPUs that support advanced features such as DirectX 12, Vulkan, and ray tracing support. Also, a higher quantity of VRAM and more powerful shader processors are important for these resource-intensive applications.
10. Can Graphic Cards Be Used for Machine Learning and Deep Learning?
Yes, especially cards with features such as artificial intelligence support and adequate shader processors, which can effectively handle parallel computations necessary for machine learning and deep learning tasks.